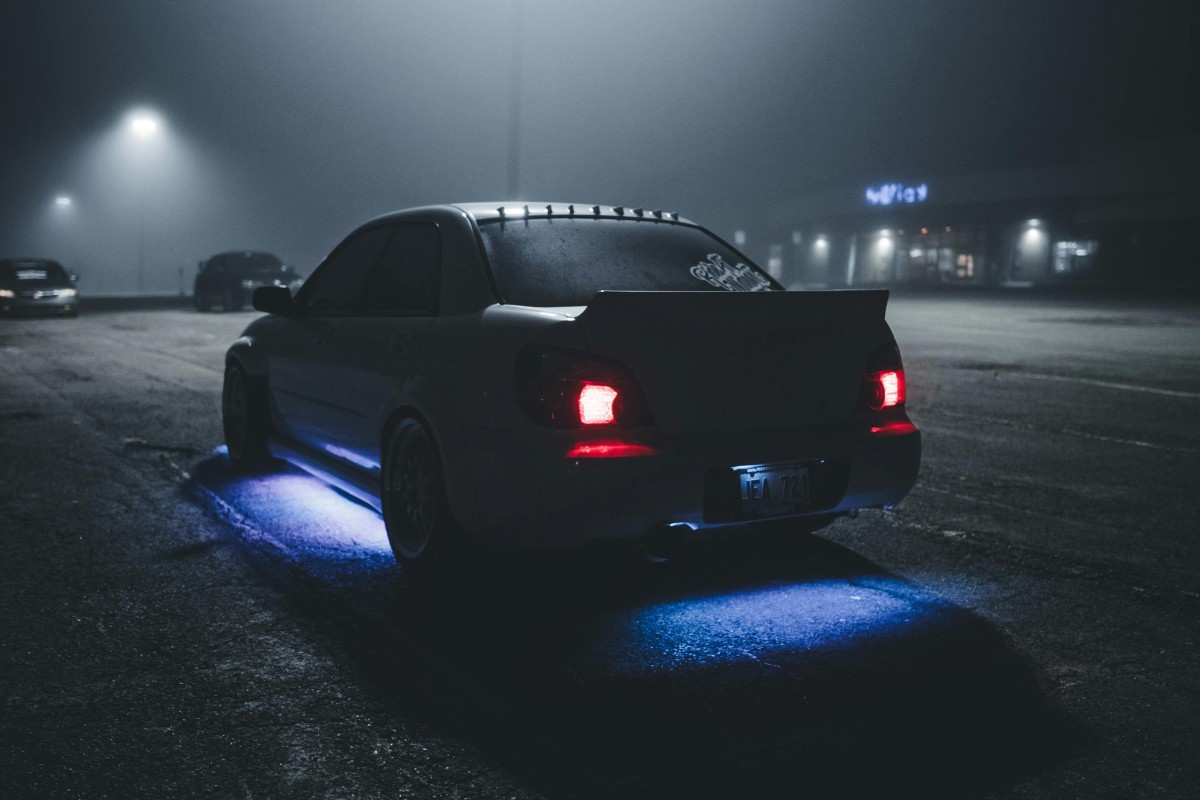
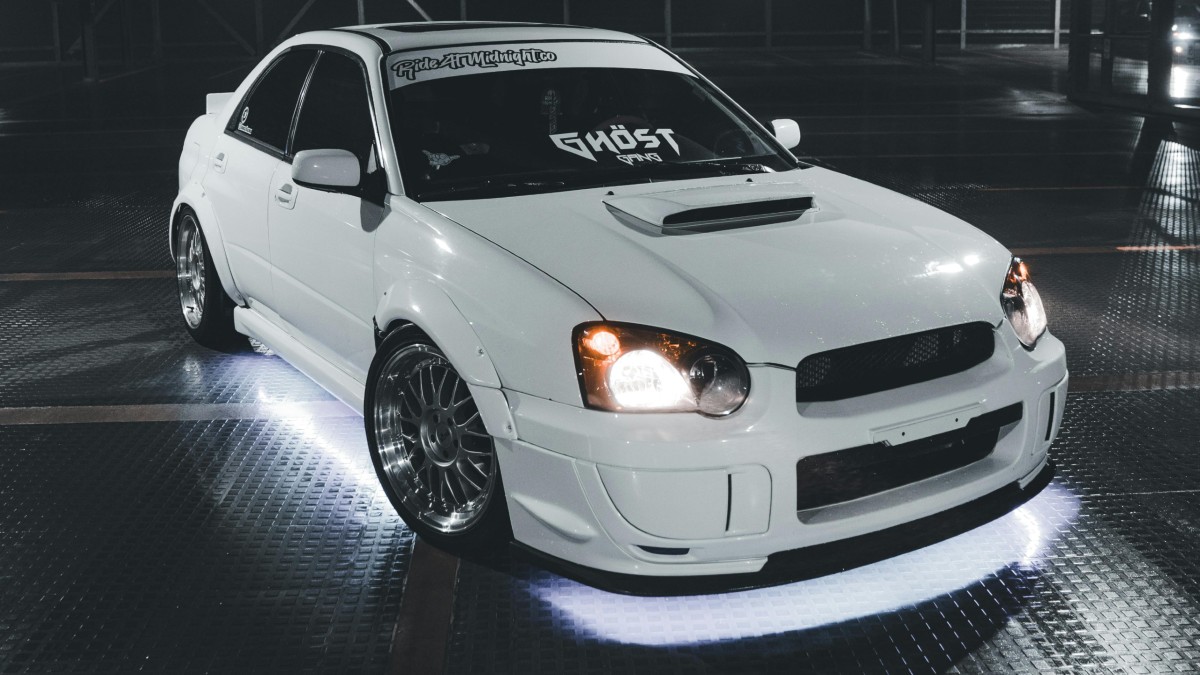
We’ve discussed underglow here on the blog before, but we’ve never specifically focused on rock lights. These are a special kind of light that don’t just deliver an aesthetic, underglow upgrade, but a functional upgrade as well for off-road enthusiasts looking to enhance visibility on trails, in low-light conditions and during nighttime recoveries.
Whatever kind of off-road activities you get up to, rock lights are a great add-on for your custom rig, but it’s crucial to wire them safely to avoid electrical issues, battery drain and even fire hazards. That’s what we’re here to discuss today, by giving you a step-by-step guide on how to install and wire your rock lights as safely as possible.

Equipment & Gear
Before you can get started on the installation process, you’re going to need to gather some equipment and gear so you’re ready for each step. Here’s a list of the things that you’ll need:
- Rock light kit; LED kits recommended, as they require less power draw
- Inline fuse; typically 5 to 15 amps, depending on your setup
- Automotive-grade wire; 14 to 16 gauge is most common
- Switch; your choice of on/off or toggle style
- Wire connectors
- Heat shrink tubing
- Zip ties
- Mounting hardware
- Drill, other basic hand tools
In addition, you may want a relay. This is an optional choice but we certainly recommend it, and you can read why later.
Step 1: Plan Layout
Naturally, the first step is to make a plan. You’re going to need to decide where you want to mount your rock lights, with the most common options being under your wheel wells, on your bumpers or flat on your frame rails. Keep in mind the effect they’ll have on visibility, comparing this to how you intend to drive your vehicle. It’s also important that each location you choose is clear of things like moving parts and excessive heat.
Once you know where you want to place them, you need to figure out your wiring path. If you can, actually sketch out your pathing to help you avoid tangling and ensure that you have plenty of slack for any suspension travel. Lastly, you should check to make sure each of your lights actually work before committing to mounting, as it’s much better to discover a dud now than once everything is finished.
Step 2: Mount Lights
Once you know exactly where everything is going to go, and know for sure that all of your lights will work as intended, it’s time to secure them to their chosen locations. Your lights should have come with brackets and screws or adhesive pads. Secure each light using the installation method laid out in their directions. If drilling is required, make sure to use pilot holes so you can avoid cracking plastic or damaging metal. Make sure you mount each light at a good angle to optimize ground coverage and protect from impacts or road debris.
Step 3: Route Wiring
Now that the lights are mounted and ready to go, it’s time to follow your earlier sketch and route the wiring towards your fuse box, which is typically in the engine bay. Use the zip ties we recommended grabbing to keep all of your wiring neat and as far away as possible from any hot components, such as exhaust or the driveshaft. Make sure to leave a little slack for that aforementioned suspension flex. Some kits will include waterproof connectors, which you should use if provided. If your kit didn’t, make sure to seal all connections with heat shrink tubing to help prevent corrosion.
Step 4: Connect Power
Alright, now comes the point when safety is paramount. You have two different options for connecting your rocker lights to power, which is either directly to the battery with a fuse, or through a relay like we recommended earlier. If you’re going straight to the battery, you can connect the positive wire to the battery’s positive terminal using an inline fuse, while connecting the negative wire to a clean ground point on the chassis or battery.
If you’d prefer to follow our recommendation and connect through a relay, which prevents the lights from drawing power while the ignition is off, then you just have to wire the relay to the battery and lights according to the diagram that should have come with your relay. Make sure to include a fuse between the battery and relay to enhance your protection.
Step 5: Install Switch
All that’s left for you to do is mount your switch inside the cabin where it’s easy to reach. Once mounted, you’ll need to run the switch’s wiring through the firewall. We suggest using a grommet to protect it from any sharp edges, which can otherwise damage your wiring and cause all sorts of issues. Then you’ll just need to connect the switch directly to the lights or to your relay if you included one. If you have a lot of accessories, you should consider labeling the switch.
To be completely honest, the safest way to wire your rock lights is to simply bring your rig to the professionals, like us right here at Glover Customs. If you have any questions, or don’t feel comfortable installing these on your own, feel free to give us a call right here at the sales desk!


